This tutorial will show you how to create a website header similar to the on use on the social book marking site digg.com. I will be using Adobe Photoshop CS3 for this tutorial.
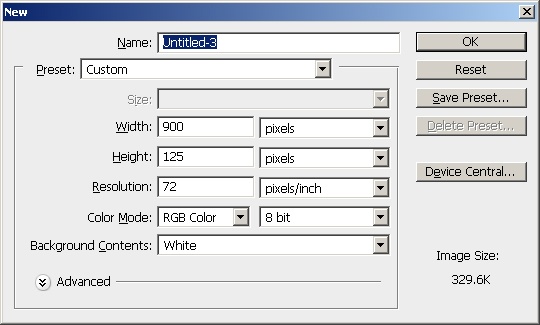
Start off with a new document 900×125 with # e5ecf3 as your background color.
Select #e5ecf3 as your foreground color and press CTRL+Backspace to fill the background with the blue/grey color.

Create a new layer. Select the Rounded Rectangle tool with the following settings.

Set your foreground color to # 1b5790 and draw the rounded rectangle. Draw from the bottom up so the top part of the Rounded Rectangle gets cut off.

Now hold down the CTRL key and click on the layer with the Rounded Rectangle in the Layers Palette.
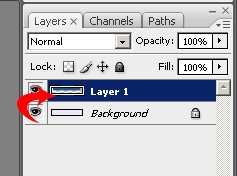
This will select the rectangle you just drew. Now, Using the Marquee tool, hold down the ALT key and drag the mouse over the top section like below.

When you let go you should have a selection like the one below.

Now you will need to download the FFF Forward font. Add the dig logo using the text tool bar and FFF Forward 21pt sharp as your font. The color should be white (#FFFFFF).

Using the text tool again add the “Join Digg”, “About” and “Login” links. The font I used was Arial Bold 14pt and the color is #d2dcf3.

Create a new layer and draw a 1 pixel line between the links using the same color.

Select the layer with the lines and adjust the opacity to 40%.
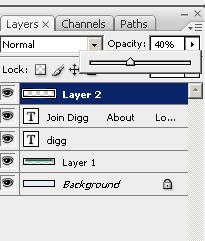
They should look lighter now.

Create another new layer. Draw a white (#FFFFF) rounded rectangle with a 4px radis where the “All Stories” link will go. Add the word all using Arial 14pt Bold with #879c6f as the color.

Add the Section links using the same font with #325b0a as the color. Be sure to leave enough space between the words for the arrows.

Now add the arrows. Select the custom shape tool and load the arrows.
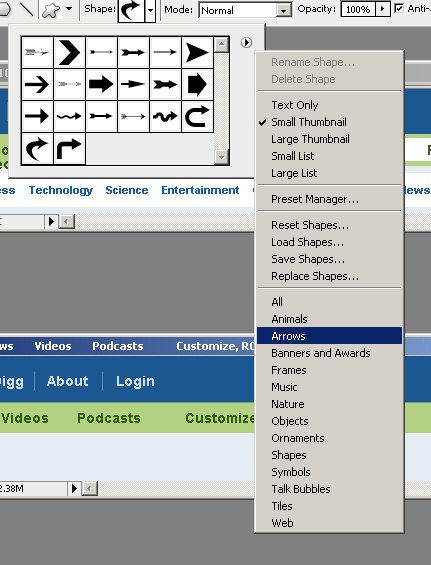
Create a new layer. Select the second arrow in the top row and use #799c4a as your foreground color. Draw an arrow.

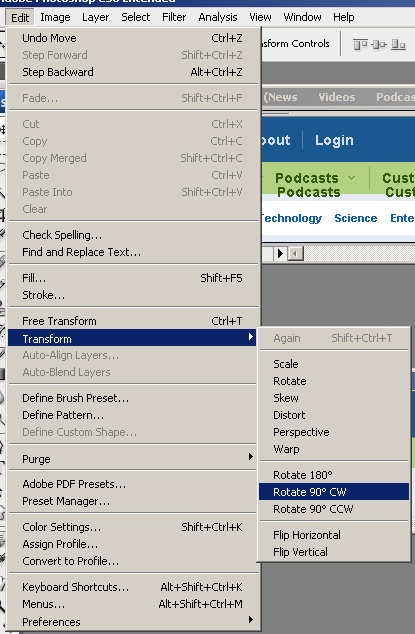
Now rotate it 90 degrees clockwise.
Should look like this.

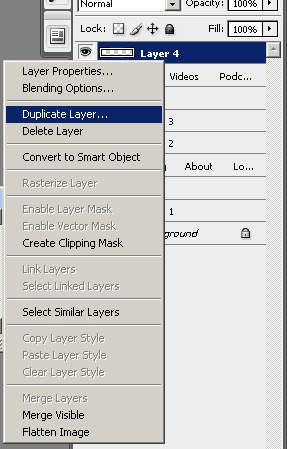
Now right click on the layer in the layers pallet and duplicate it 2 times.
Then select each layer and position the arrow. Then draw another 1px line in the same green color.
