This tutorial will show you how to create a great looking dark logo using Adobe Photoshop.
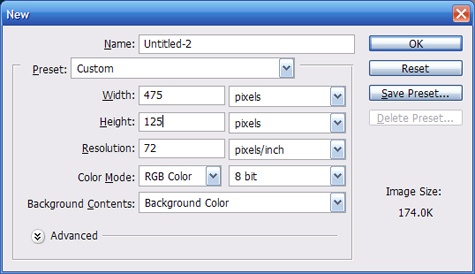
Start by Opening a new document
Now using the text tool type the word “Darkness” on the screen using white as the color. The font that I am using is blade 2 and the size is 150px. The Blade 2 font can be downloaded here.
Now open the Layer Style window by right clicking the layer and selecting Blending Options.
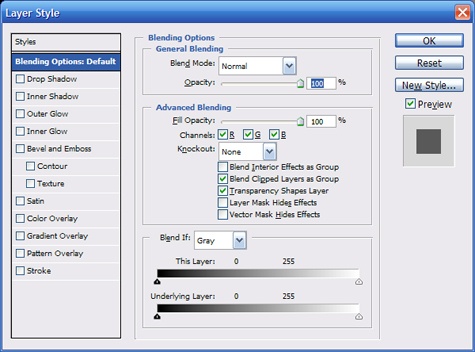
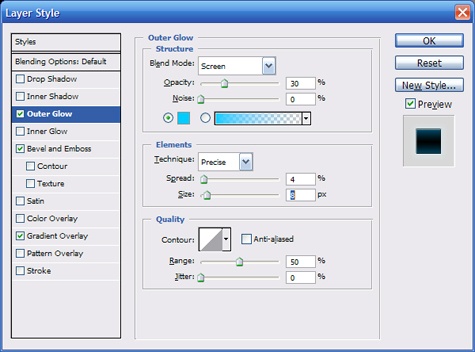
Now apply an Outer Glow with the following settings.
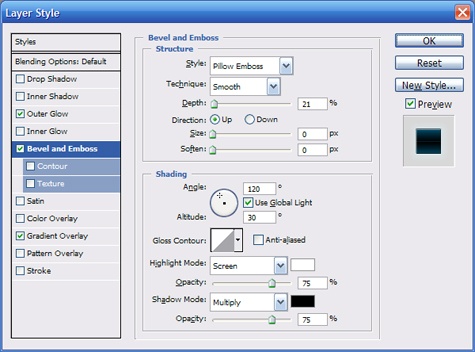
Now the Bevel and Emboss settings.
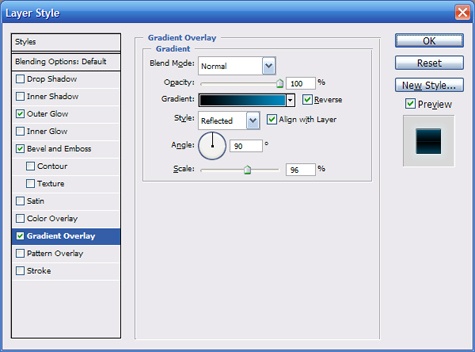
Then apply this gradient overlay.
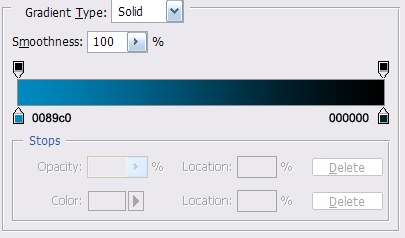
Here are the color settings for the gradient.
Now apply the settings and your image should look like this.

Now we need to add another layer. With the shape Custom Shape tool select the Grass 3 shape, pictured below. This is a default shape in Photoshop CS2
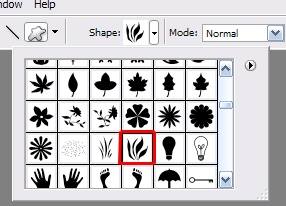
Use white as your fore color and draw a large section of grass over top of your text.

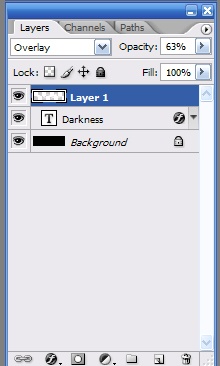
Now set the layer blend mode to Overlay and reduce the Opacity to 63%
Now you are finished. Your final image should look like this.

