This tutorial will show you how to replace the default search built into WordPress with a Google Search box through Google Adsense. Adding the Google Search box will help you make money from your website by showing advertisements in the search results. You are paid if a users clicks on an advertisement. The downside to Google Search is that when a user clicks an advertisement they will leave your site. If you are just starting out with a blog, I would recommend that you stick with the built in search until you increase the traffic to your blog and your content is indexed by Google. The Built in search will provide more relevant results than Google Search at first, but once Google gets your pages indexed there should be no problem with the search results. Google also allows you to customize the results page to make it look similar to the theme of your site, or you can event have the results displayed on a page in your site.
If you are not a member of the Google Adsense network you will have to
to take advantage of the product. Once you join the AdSense publisher network, you will be able to display Google’s contextual ads, search box, and referrals. Google’s AdSense network is currently the largest online ad network and is the top money maker for most blogs.
Sign Into your AdSense account.
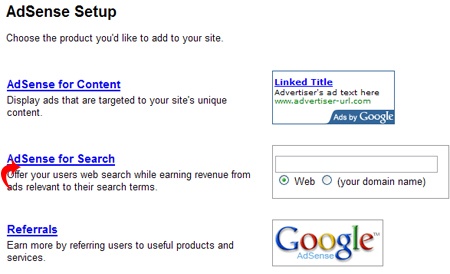
Click on the AdSense Setup Tab.

Now click on the link for AdSense for Search.
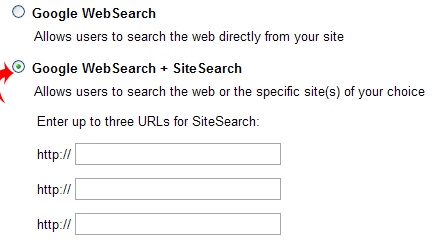
Now we will have to setup the options for our search box. First select the Google WebSearch + SiteSearch option.
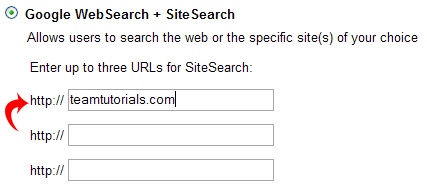
Then fill in the URL of your site in the box below. You can enter up to three sites, but I will only enter one.
Now we have to define the style for our search box. First I will select the option button for my site.
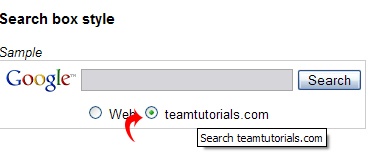
Next select the style for the Google logo. You can select from: Google Logo Beside the search box, Google Logo above the search box, or have the Google added to the search button. I like the last option so that is what I will choose.
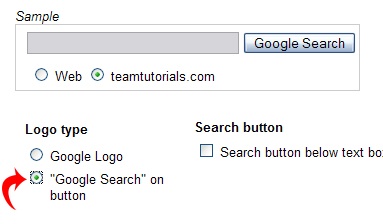
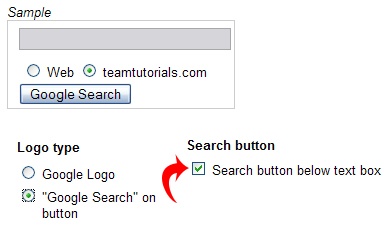
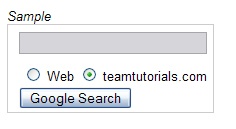
Now you can select where you want the search button to be. It can either be beside or below the search field. I will select below because I want to make it fit in my sidebar.
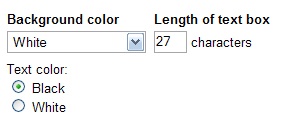
Next, select the font color, background color, and number of characters. I will use the default colors and change the number of characters to 27 so that the box will be even with the words tutorials.bot.
So I end up with a search box that looks like this.
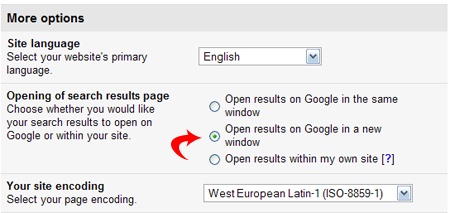
Next you can add Site flavor if you want to. This will customize the search box. I will skip that option. The only other option I will select is to Open results in a new window.
Click the Continue Button at the bottom of the page.
Now we can setup the search results page. First I will add an image to the results. Simply fill in the URL for the image.

Next I will add a destination to my image. When the image is clicked, the link will take you to the page that you put in this box.

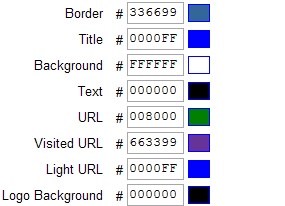
Now you can define the colors for your search page. Google has some preset options, or you can customize your own. Here is what I will use for the example.
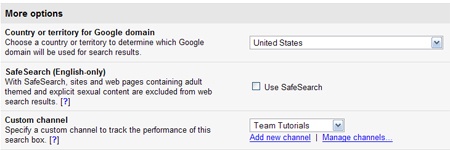
The only other thing I will do is select a custom channel so that I can keep track of the earnings of the search box. This is optional but will be a benefit if you have multiple search boxes on different sites.
Click the continue button. Google will give you the code that you need for the search box. Highlight all of the code and copy it.
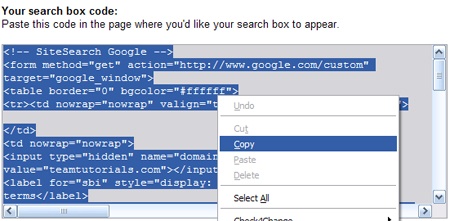
Now that the search box is created, we will have to paste the code into the WordPress side bar. I will be using the default theme for this example.
Connect to you site using your favorite ftp program (mine is still smartftp). Navigate to your WordPress root directory.
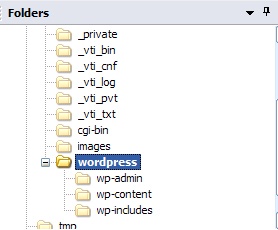
Now we need to browse to the themes folder. Go to wp-content > themes > and select your current theme. My theme is the default.
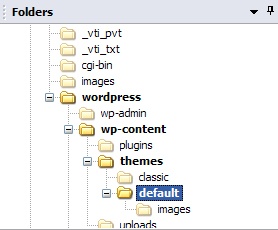
If you theme has a searchform.php you will need to edit it. If you are using a custom theme and it doesn’t have searchform.php you will need to locate the file that has the search code in it. Sometimes the code is located in the sidebar.php file.
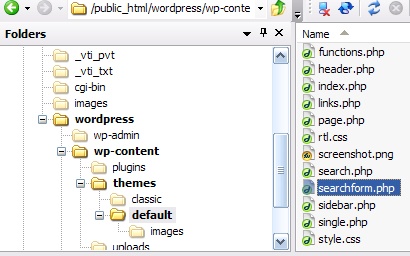
Edit the file. If you are using Smartftp you can right click the file and then select edit.
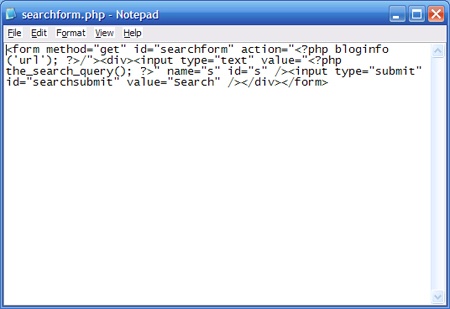
Replace the search code with the new google code.
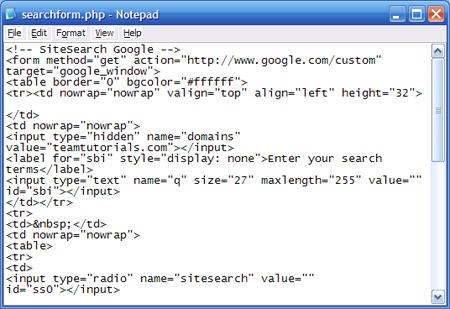
Save the file and upload it to your server. Your site search should now be replaced with the Google search.
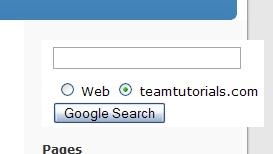
As you can see the search box didn’t fit quite right. We will have to fix that by shrinking the margin of the side bar. This will move everything in the side bar to the left. Edit the style.css file and find this line:
#sidebar { padding: 20px 0 10px 0; margin-left: 545px;
And change it to
#sidebar { padding: 20px 0 10px 0; margin-left: 528px;
Save the file and upload it to your server. Your search box should now fit the default Kubrick theme.
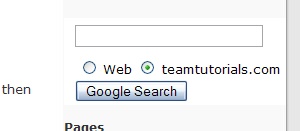
There are probably a couple of different ways that you can change the CSS to get the search to fit in the sidebar. Each theme is different so you will have to experiment and see what works with your theme.