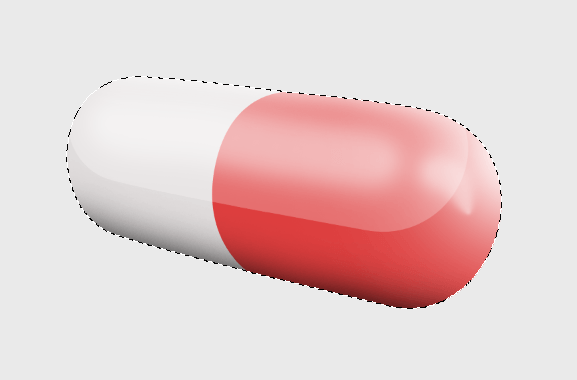
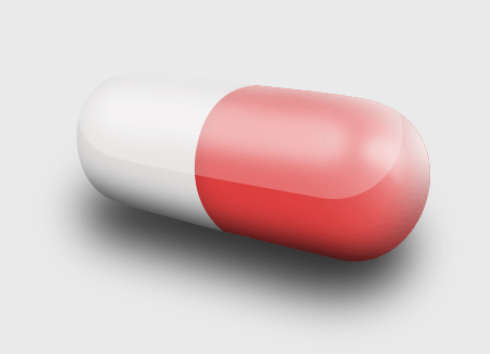
In this tutorial you will be learning basic techniques in Photoshop, such as using layer styles, brush and pen tool and effects. The end product will be a glossy pill icon, useful as a logo or an illustration. The tutorial is suitable for absolute beginners.
1. Create a new document
Create a new document by hitting Ctrl+N or Cmd+N on Mac with following values.
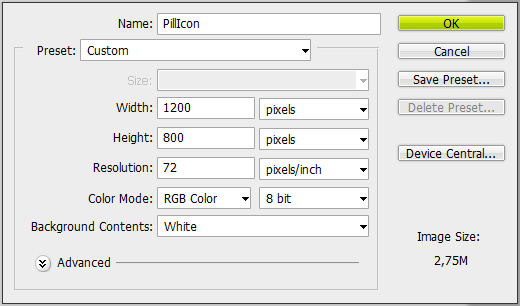
For easier workflow make sure you have Auto-Select Layer and Show Transform Controls ticked.

2. Place and trace
Drag and drop the sketch.jpg file into the canvas and resize it with transformation tool to fit. Hit enter.
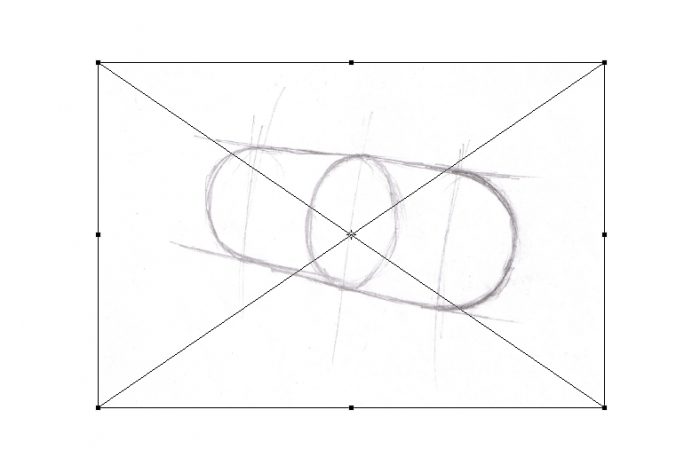
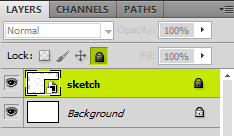
Lock the sketch bitmap layer by selecting it and clicking on the padlock icon.
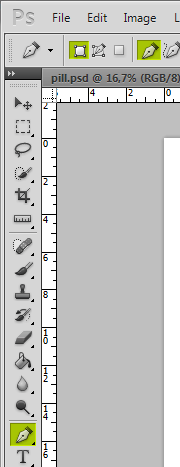
Select the pen tool and click on ‘Shape Layer’ in the toolbar.
Start tracing by clicking on any edge of sketch and adding points. Photoshop will create a new shape layer. Try to follow sketch lines to fill one part of the pill icon.
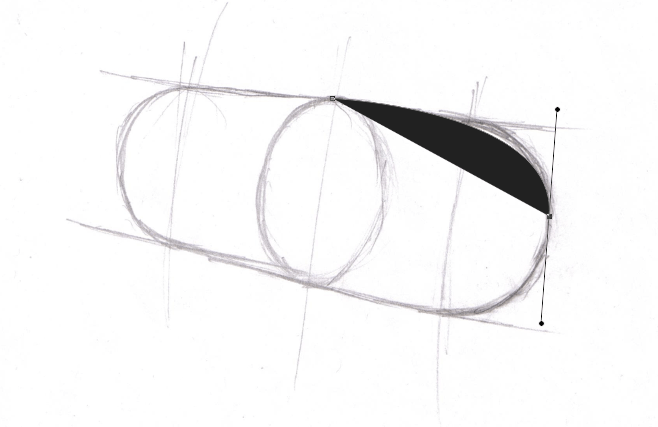
After closing the shape by clicking on the first point, select Direct Selection Tool (Ctrl+Shift+A) to manipulate any misplaced points. You can move them around by clicking twice.
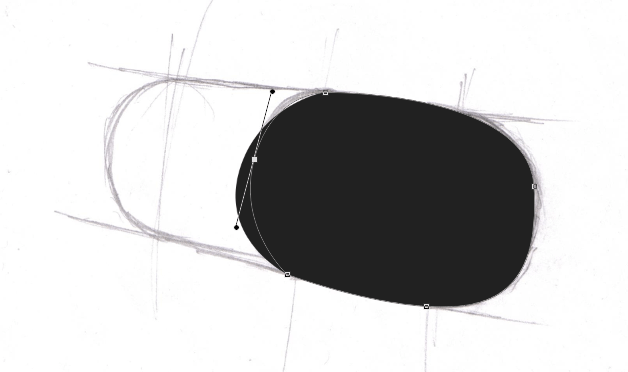
When you’re happy with the shape, click on the layer and name it something descriptive by double clicking on name and click on eye icon to hide it.
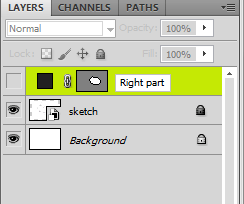
Do same with the other part of the pill and get them aligned. Move the right part layer on top of the other by dragging and dropping. Hide the sketch layer.
Now select colors you’ll be using and fill shapes with them by double-clicking layer thumbnail. Colors used in tutorial are RGB(221, 62, 62) and RGB(224, 220, 220).
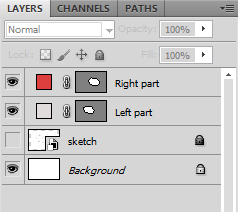
Select both layers and click ‘Duplicate layers’ in right-click menu. Merge duplicates into one rasterized layer by selecting ‘Merge’ from same menu.
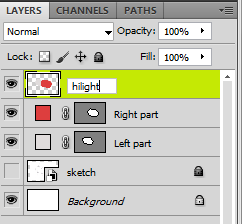
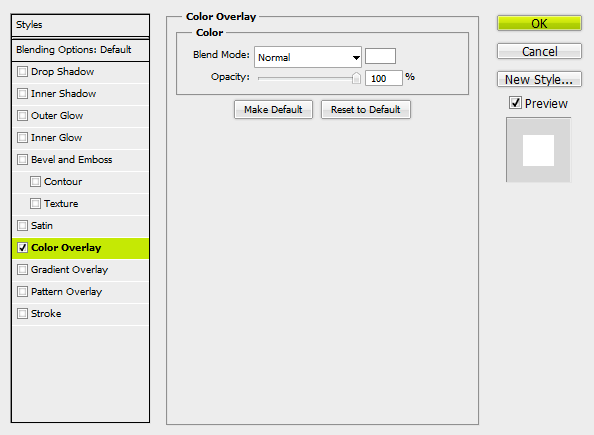
Double click on created layer and click on Color overlay. Select white color and hit OK.
Resize and rotate the shape so it covers a little less than half of the pill.
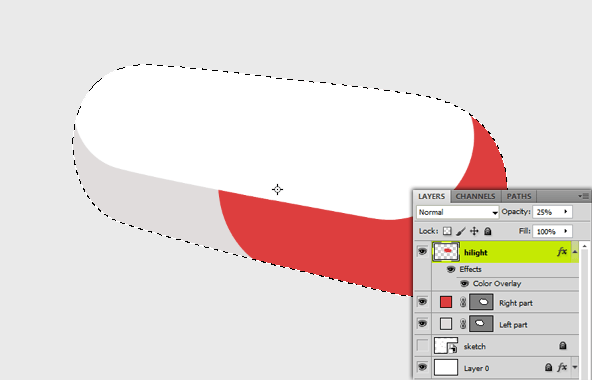
Ctrl click on one layer’s vector mask thumbnail and hold Ctrl+Shift while clicking on another. This will select both layers’ pixels. Hit Ctrl+Shift+I to inverse selection and hit Delete with ‘highlight’ layer selected. Set layer’s opacity to 25%.
3. Effects
Select the Brush tool and apply the following settings in right-click menu:
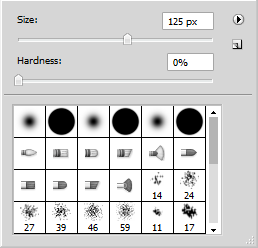
Now select pill layer’s pixels once again and paint a highlight on a new layer. Set its opacity to 50%.
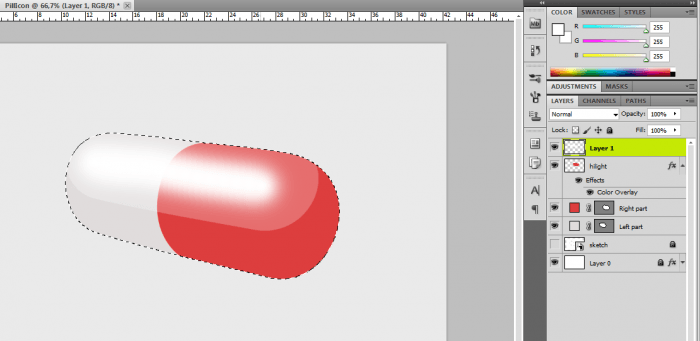
With same selection create another layer, set brush size to 200px and select black color. Paint on the bottom of the pill.
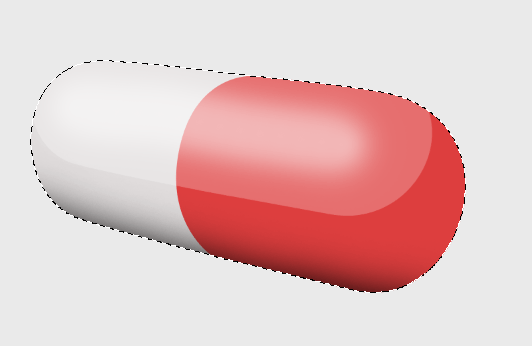
Apply following settings:
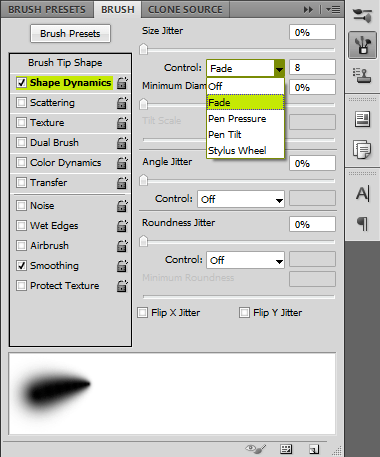
Paint on the end of the pill. Then set brush size to 400px and touch for highlight. Then paint another line of highlight on top edge of the pill.
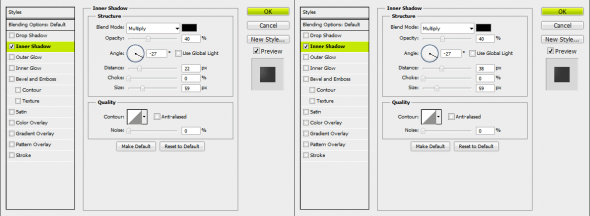
Double click on the Right part and Left part layers and apply these layer styles:
Time to sort out our layers. Name them, group them, and let’s move on to final touch.
4. Drop shadow
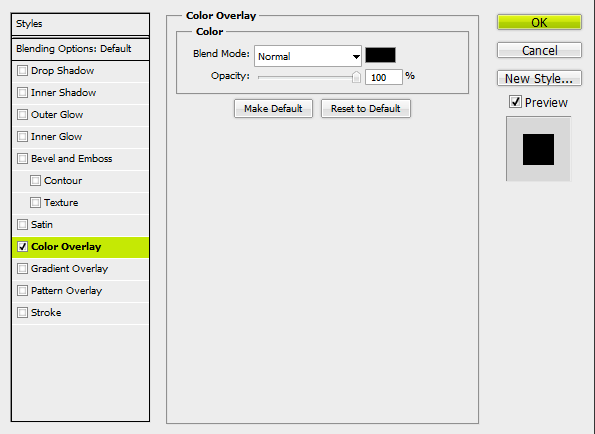
Duplicate and merge Right and Left part’s layers once again and move it behind them. Overlay it with black color with layer styles.
Choose Edit -> Transform -> Perspective and modify layer according to perspective.
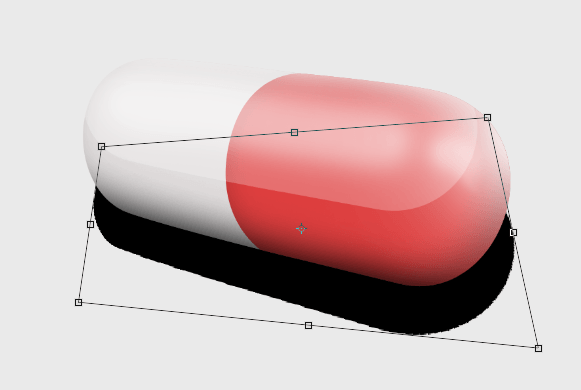
Then fo under Filter -> Blur -> Gaussian Blur and type in 40px. Take layer’s opacity down to 80% and you’re done.
Get the PSD
[tweet2download file=”files.zip” tweet=”Creating a Pill Icon in Photoshop http://su.pr/4004am on @teamtutorials” follow=”@teamtutorials” /]
This tutorial was written by Heidi Pungartnik, web and graphic designer. You can follow her on twitter (@ashocka18) or visit her website at aShocka.com.