Adobe Photoshop part of this tutorialeate a simple background that repeat horizontal using Adobe Photoshop. These backgrounds are effectively used in non-fluid designs to give fluid like look, even though the actual size of the page content stays the same.
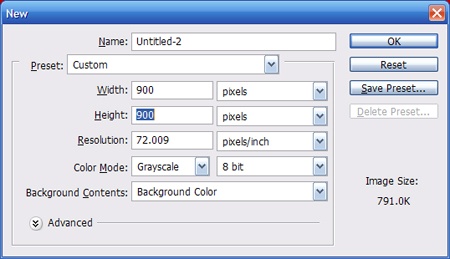
Start off with a new image 900×900 pixels with a background color of Black (#000000).
Now create a new layer and make a large selection at the top using the Rectangle Marquee Tool.

Right click on the layer in the Layers panel and select blending options.
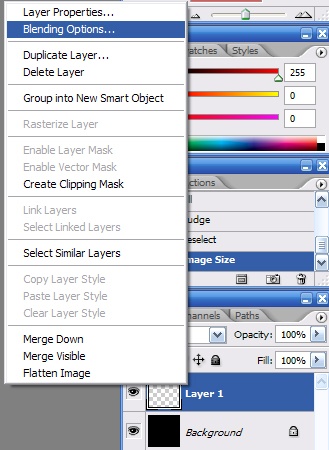
Apply the following gradient overlay.
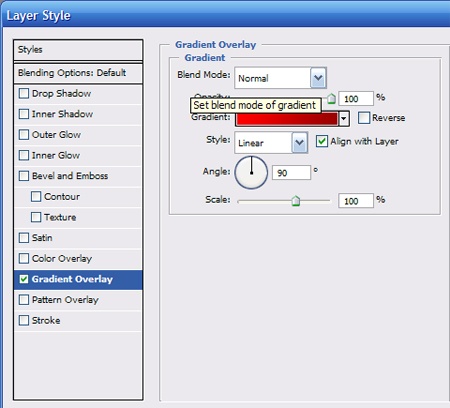
Here are the settings for the gradient:
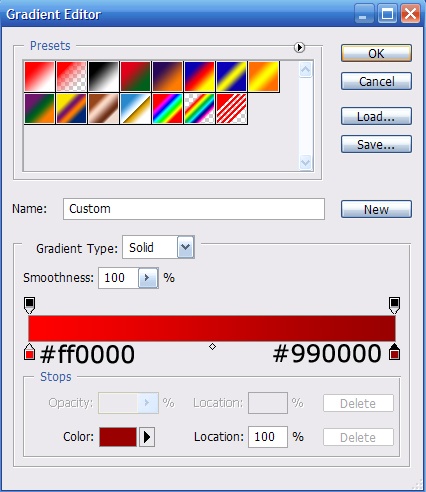
Apply the settings and you should have something like this.

Now we need to add a little pattern to break up the gradient. First we will have to create the pattern. Create a new image 200×50px with black as the background color. Create a new layer. Using the rectangle marquee tool make a select about half the height and width of the document and fill it in with #464646.

Now right click on the layer in the layers panel and select “Duplicate layer…” Now ctrl + click on the layer to select it. Fill it with #202020 using alt + backspace and nudge the layer down to the edge of the original using the arrow keys.

Now merge the two layers by selecting both layers in the layers panel, right clicking them, and selecting “Merge Layers”. Now select your new layer (which should contain both squares and go to Edit, transform, rotate from the Photoshop menu. Rotate the layer -55 degrees and then apply the changes. Your image should look like the picture below.

Now duplicate the layer and nudge the new layer left, over to the edge of the original one. Create another duplicate and nudge this one to the right so that your image looks like the one below.

Use the rectangle marquee tool and make a selection in the center on the. Make sure that your selection starts at the edge of the dark line and edge on the edge of the light line (you may have to zoom in to do this). This is important so that the pattern will look right. Once you have made your selection crop the image. It should look like the one below.

On the menu in Photoshop, select Edit, Define Pattern. Give your pattern a name and click ok.

Now go back to the original image and create a new layer. Make a select with the rectangle marquee tool like blow and fill it with black.

Now right click the layer and select blending options. This time we will apply a pattern overlay.
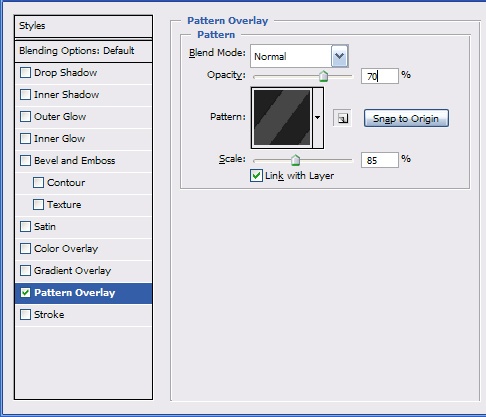
Apply the pattern overlay. You should have an image similar to the one below.

Now click on the background layer again. We are going to apply a slight gradient.
Here are the gradient settings.
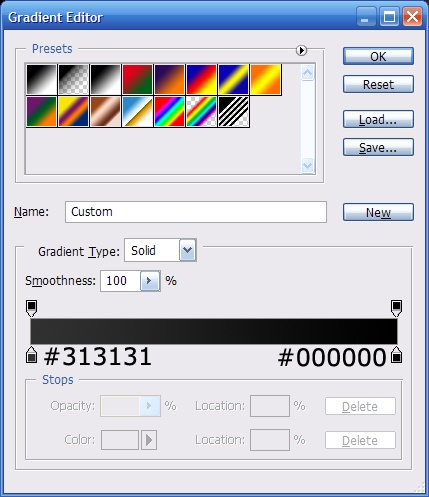
Now apply the gradient by clicking and dragging the cursors down like below.
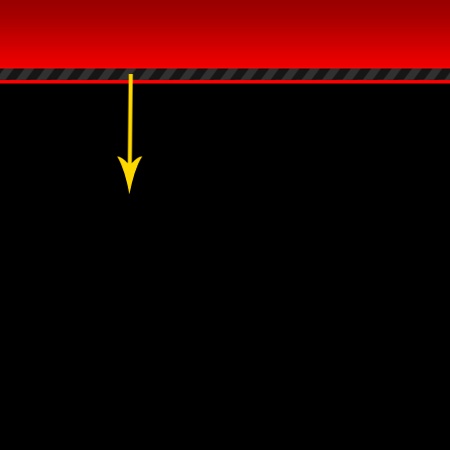
Your image should look like the one below now.

That’s it for the Adobe Photoshop part of this tutorial. If you want to add this background to a page, you will have to make a small vertical selection. The hard part is selection a section of the diagonal pattern that will repeat seamlessly. Here is a full size version, click to enlarge it.
