This tutorial assumes you have set up a local development environment using Local by Flywheel. Next, we will make a change to our local environment and push that change to our production environment. If you use Flywheel’s hosting this is dead simple. However, we’re using a dedicated server with cPanel so the process is a little bit more complicated.
Making the Change in Your Local WordPress Environment
For this example, we’re just going to make a small change. So we will log into our local dev environment and take a look at the site.
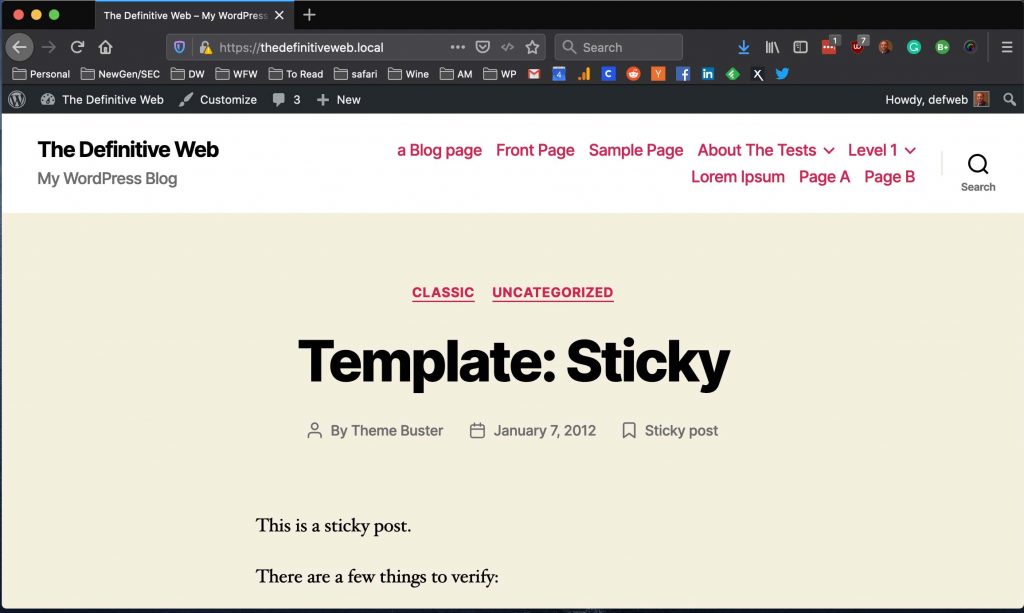
If you look you’ll notice that we’re using the new 2020 WordPress theme. This is the same theme you will see in our production environment because we made that backup using the other tutorial.
Next, I’m just going to change the theme to the WordPress 2019 theme. If I open my test site in the browser it now looks like this.
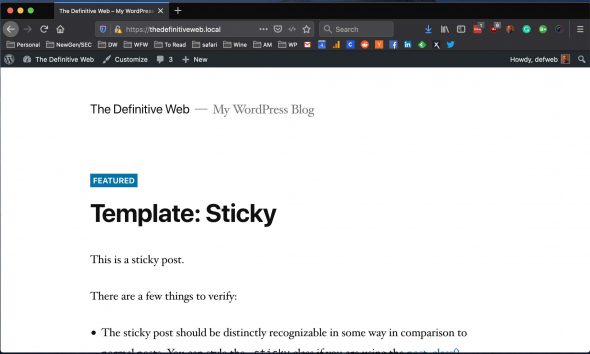
You can see that our theme has changed.
Deploying Your Files to the Production WordPress Site’
Now we will copy all of our files to the WordPress site.
Note: this is not actually necessary for just changing this theme but I want to show you how you would do this if you made other changes, such as downloading a new theme or plugin.
We’re going to browse to our local public file. You can find the location of this in the Local application under the Overview tab and the Site Path value.

Open the folder. In my case it’s /Users/jward/Local Sites/thedefinitiveweb. Then browse to App > Public.
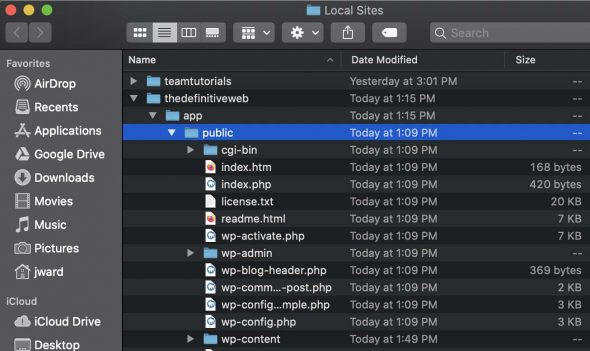
The files underneath Public are going to be copied to the Public_html folder on your production server.
Next, we need to connect to our production server via SFTP. I’m using Cyberduck to do this. It’s available for both Mac and Windows. Open your FTP client and connect to your server using your cPanel login information.
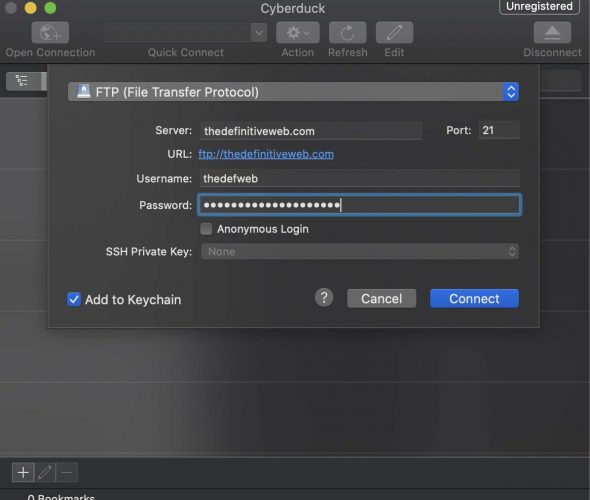
Now browse into the public_html folder. Copy everything from inside App > Public into the public_htnl folder EXCEPT FOR THE WP_CONFIG.PHP.
DO NOT COPY wp-config.php, this will change your database connection and bring your site down.
Drag and drop the files into public_html in Cyberduck.
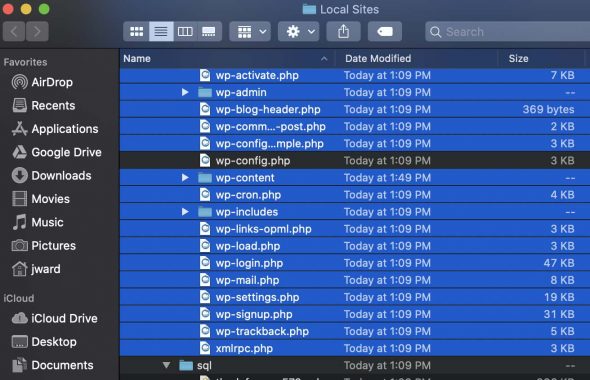
This will take a while to upload. When it finishes we can move on to migrating the database.
Migrating the WordPress Database Changes to Production
Now we’ll connect to your production WordPress database and execute the new changes.
First, we need to export the development database. In Local click on the Database tab for your site and then click the Open Adminer link.
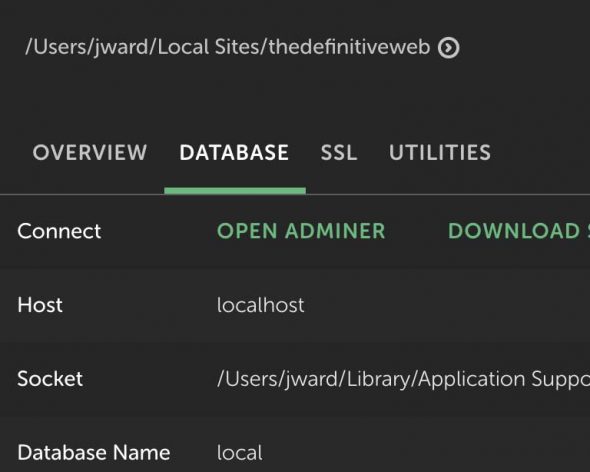
In adminer click on the Export link on the left.
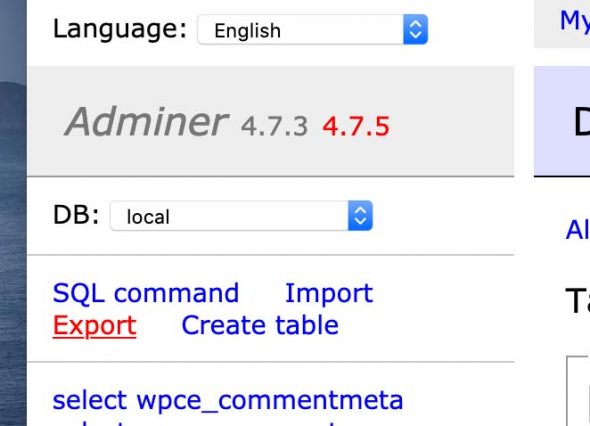
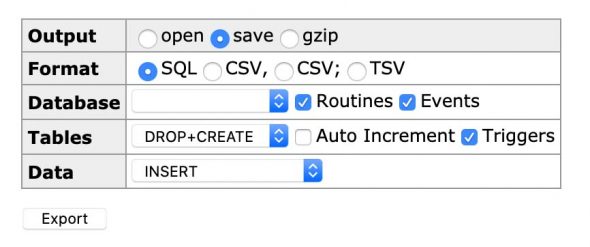
Now for output select save. For format select SQL. Leave everything else default like the image below. Click export and save the SQL file.
Now open your SQL client. I use Sequel Pro on my Mac, you may want to use Heidi SQL on Windows.
Now you need to have remote SQL enabled on your web host. You can check this in cPanel by clicking on the Remote SQL link.
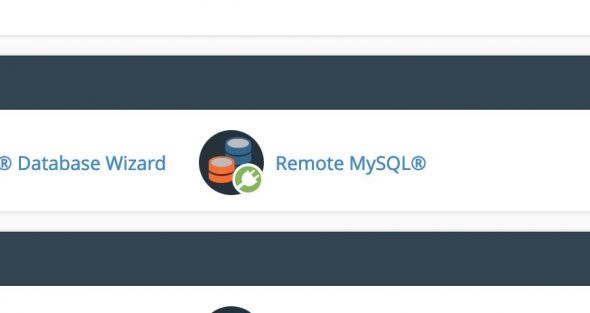
Check the all Manage Access Hosts section. If you have a % that means any IP address can connect. This was default on my host. You may just want to add your local IP address and allow it to connect.
Now open your SQL client and connect to your database. You can get the information from your production wp-config.sql file.
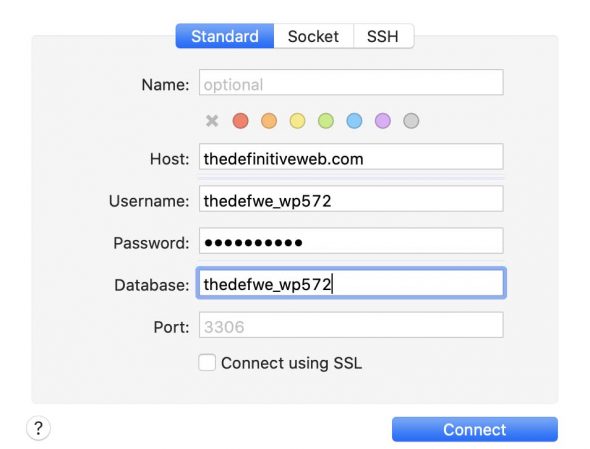
Once you are connected to the database you need to open the .SQL file that we exported earlier.
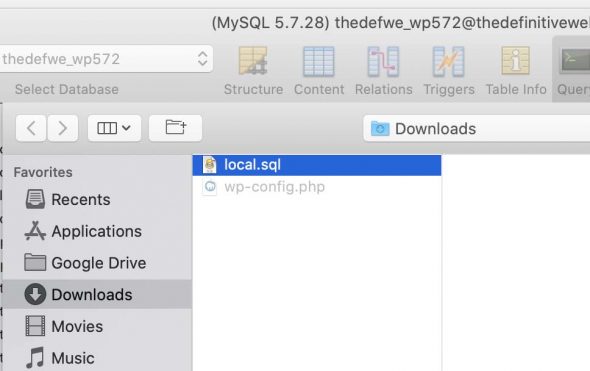
Once the file is open you need to make one modification. You need to do a find and replace for your .local domain to .com. In my case, I search for thedefinitiveweb.local and replace all instances with thedefinitiveweb.com. I hit cmd+f to open the find and replace dialog. Enter your domains and click replace all.

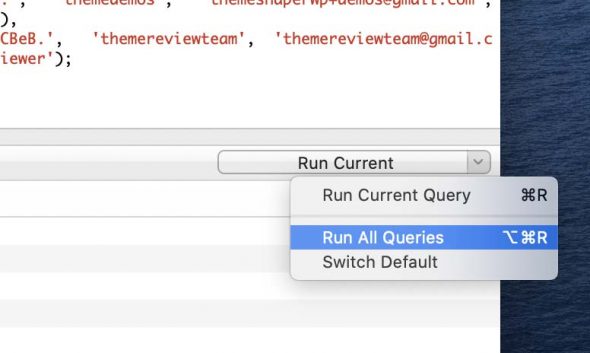
With the domain names replaced we can now execute the SQL. On the right side of Sequel Pro select run all queries.
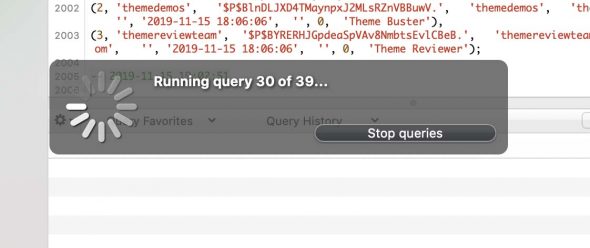
The client will run the updates.
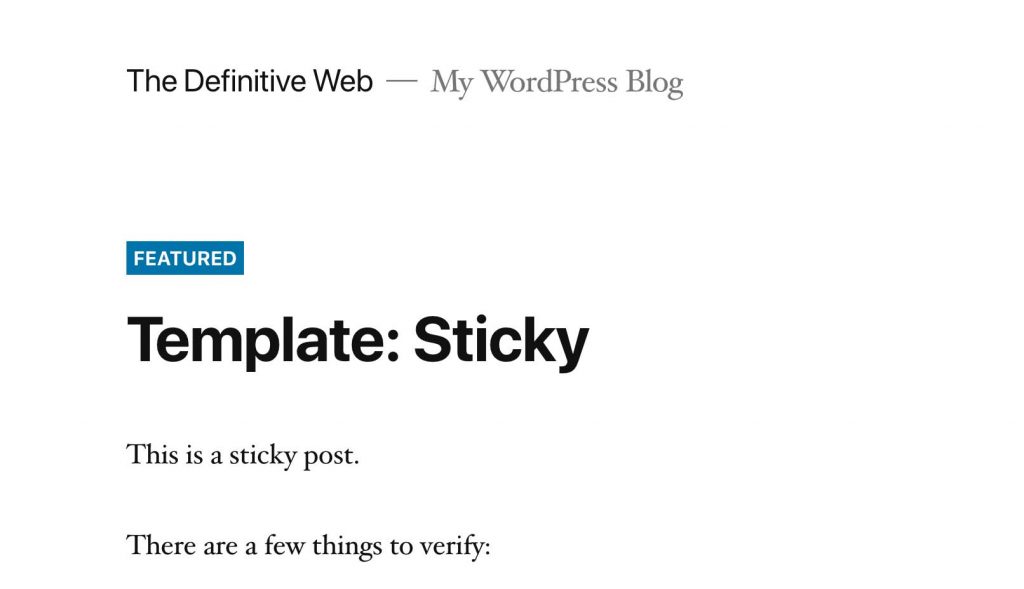
Now if we browse to our live site we should see the theme has changed.
Now if everything worked correctly you can browse to /wp-admin and see yourdomian.com/wp-admin in the address bar. If you didn’t do the find and replace correctly you will see yourdomain.local/wp-admin. Try the find and replace again and execute the SQL again.
Conclusion
Hopefully, this tutorial has helped you to migration from your local WordPress development environment in Local by Flywheel to your cPanel based web host. Please leave a comment if you have any questions.
