In this tutorial I will show you how to monetize your blog without hassle, using the simple Adsense Injection 2.0 plug-in for WordPress. With the Adsense Injection plug-in you can randomly place ads from Google AdSense and Yahoo Publisher Network into your content.
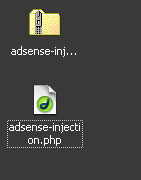
First you will need to download the Adsense Injection plug-in from DAX. When the download is finished you will need to extract the PHP file.
Now you will need to upload the adsense-injection.php file to your site using your favorite FTP program. I usually use SmartFTP. Connect to your server via FTP.
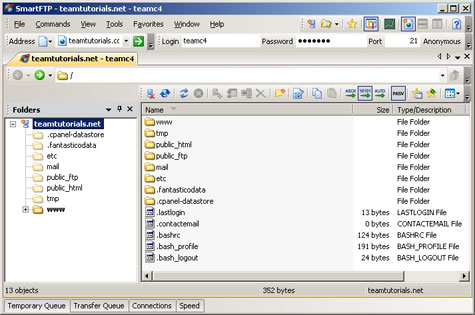
Navigate to the plugins directory which is usually public_html/wp-content/plugins/.
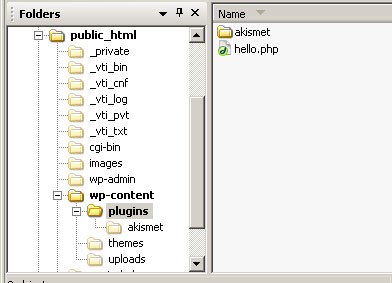
Upload the adsense-injection.php to the directory.
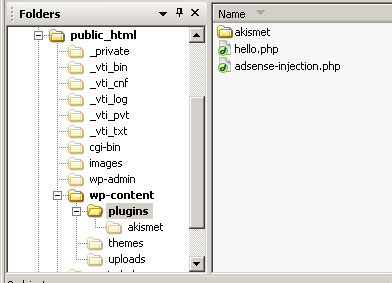
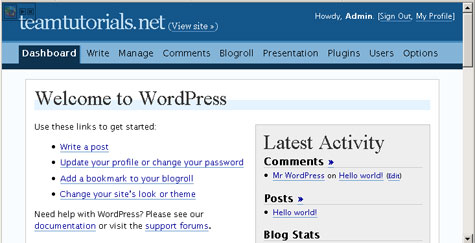
You can exit the FTP Program now and login to your WordPress account.
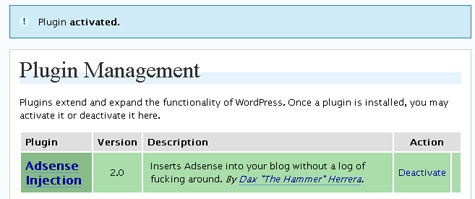
Now click on Plugins and click the Activate link next to the Adsense Injection Plug-in to activate it.
Now on the Menu go to Options and then click Adsense
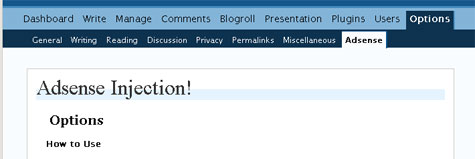
The Adsense Injection settings should be displayed, along with simple directions. Scroll down to the Ad Network drop down box. This box gives you three choices: random, YPN, Adsense. Select random if you would like to use both networks or AdSense if you want to use only AdSense or YPN if you want to use only the Yahoo Publisher Network. I selected AdSense because I only want to use Google ads.

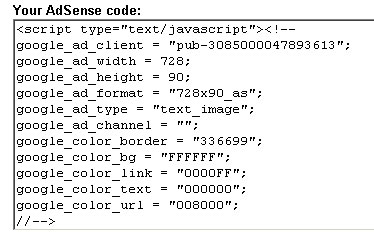
Now we need to enter the information, but chances are you don’t know your publisher ID by heart (though you might). At this point I recommend signing into Adsense and creating an ad unit with the colors that you want to use. I do this because I can then copy everything I need straight from the javascript that is produced (pictured below).
Enter your Adsense ID (which is in the Google code next to the google_ad_client.) and Adsense Channel (which is located next google_ad_channel). You only have to enter the Channel if you have set them up in your AdSense account.
You can enter your Yahoo Information if you are using YPN. I will skip that section and continue on to the “ad formats to randomize”. Choose the ad sizes that you wish to run on your blog. You can select as many or as few as you want. Using different ad size my increase click through, but could also make your layout seem cluttered. Select the sizes that will fit into your layout.

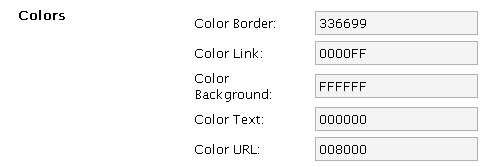
Now we will ad the colors. It is fairly simple. If you know hex codes you can simply type them in, or you can copy these directly from the AdSense code you have already setup. The google_color_border value goes in the Color Border field, google_color_link value goes in the Color Link field, google_color_bg value goes in the Color Background field, google_color_text value goes in the color text field, and google_color_url value goes in the color url field.
Now select the option for number of ads to show. This option will affect the number of ads that you will show on the index page.
Select the number of ads per post. This is how many ads will be displayed on the permalink pages for each post.
Now you can select the Ad Positioning. This is the horizontal positioning of the ads in the content.
Now you can select the sections that you don’t want your ads to appear on. I will select the static pages because I don’t want people to see ads on my contact page, about me, etc.
You can choose any of the following option if you would like. I will give a brief description.
“Only let me see the ads” – Only you see the ads (of course). Good for testing.
“Don’t make me see the ads” – You won’t see them but readers will
“insert goolge_adtest=”on”; when I’m looking at my own blog.” –this puts the ads in test mode to protect your from accidentally clinking them.
Now you can click save. You can now view your site and see if the ads appear. Notice that there is only one ad displayed because I do not have enough content to display all three on the home page.
Don’t forget the extra instruction that where located at the bottom of the settings page. If you don’t want to show any ads on a specific post or if you want ads to start below a certain point, you can find the code there.
If you enjoyed this tutorial please leave a comment below or click the “Socialize It” link to ad this post to your favorite social book marking site. I would be happy to answer any questions you may have.
