This Adobe Photoshop tutorial will show you how to create a simplistic design studio menu.
Here is what you will get when you are done.

Start off with a new document 675×65 with a background color of black.
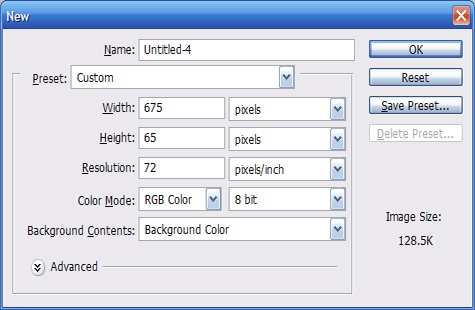
Create a new layer. Using the rounded rectangle tool, with a radius of 10px, and #202020 as the foreground color, make a selection like the one below.

Right click on the layer in the layers panel and select blending options. Apply the following outer glow properties.
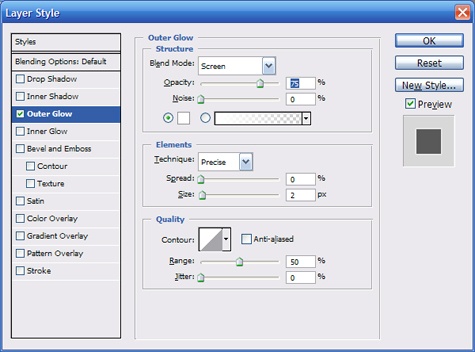
Your image should now look like this.

Now we need to apply the diagonal background patter. First we will create it. Create a new image 200x50px with black as the background color. Create a new layer. Using the rectangle marquee tool make a select about half the height and width of the document and fill it in with #464646.

Now right click on the layer in the layers panel and select “Duplicate layer…” Now ctrl + click on the layer to select it. Fill it with #202020 using alt + backspace and nudge the layer down to the edge of the original using the arrow keys.

Now merge the two layers by selecting both layers in the layers panel, right clicking them, and selecting “Merge Layers”. Now select your new layer (which should contain both squares and go to Edit, transform, rotate from the Photoshop menu. Rotate the layer -55 degrees and then apply the changes. Your image should look like the picture below.

Now duplicate the layer and nudge the new layer left, over to the edge of the original one. Create another duplicate and nudge this one to the right so that your image looks like the one below.

Use the rectangle marquee tool and make a selection in the center on the. Make sure that your selection starts at the edge of the dark line and edge on the edge of the light line (you may have to zoom in to do this). This is important so that the pattern will look right. Once you have made your selection crop the image. It should look like the one below.

On the menu in Photoshop, select Edit, Define Pattern. Give your pattern a name and click ok.

Now go back to the original image. Select the layer with the rounded rectangle by ctrl + clicking it in the layer panel and go to Layer, New Layer Fill, Pattern…
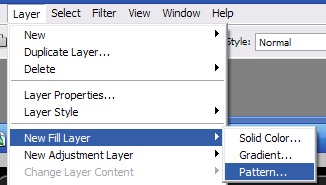
Name the pattern and select ok. Select the Diagonal pattern. Look at your before you accept the new pattern. If the pattern doesn’t line up, click and drag it until it lines up. You may also have to scale the pattern to cover the entire area. When you are finished select the ok button.
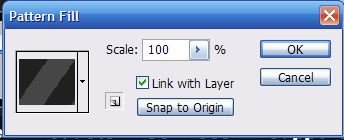
Your image should look like this. If you have jagged lines you will have to go to the previous step and move your layer by clicking it and dragging it before you apply the pattern.

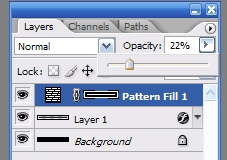
Now reduce the opacity of the fill layer to 22%.
Your image should look like this.

Create a new layer and make a selection like the one pictured below using the Rounded Rectangle Tool. Fill the selection with black

Reduce the opacity of that layer to 50% to give the layer a transparent look.

Now add your text using the text tool. The font I used is standard Arial Bold in 18pt.

Now create a new layer. I am going to add the logo for this menu. The title of this tutorial is “Photoshop Creative Design Logo Tutorial”. So I will use a logo that contains the letters CD.
Using the Custom Shape tool, select the puzzle piece pictured below.
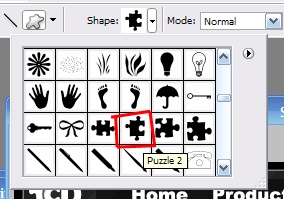
Using white as the foreground color, draw a puzzle pice just slightly taller than the “see through” rectangle.

Add the letter “D” using the text tool. The font is Arial Bold again, but this time I will use 30 point.

Now I add the finishing touch to the logo. Using the text tool again, I type the letter “C” over top of the puzzle piece with the color #282828.

Right click on the layer with the “C” and choose “Rasterize Type”. I will erase most of the letter “C”, using the eraser tool with a 19px hard brush. Then I will nudge the line over a little bit to make the “C” fuller. After that you are done. Here is the final product.
