This tutorial will show you how to create a clean looking menu header box using Adobe Photoshop CS2.
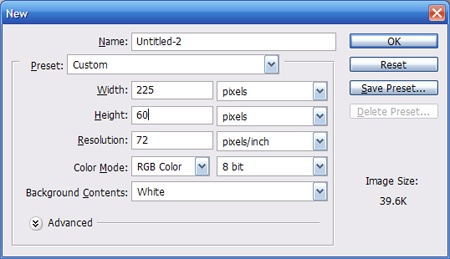
Start off with a new document 225×60 pixels with a white background
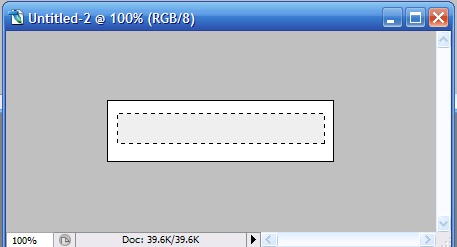
Create a new layer. Using the rectangle marquee tool, draw a rectangle similar to the one below. Fill it with a gray #EFEFEF
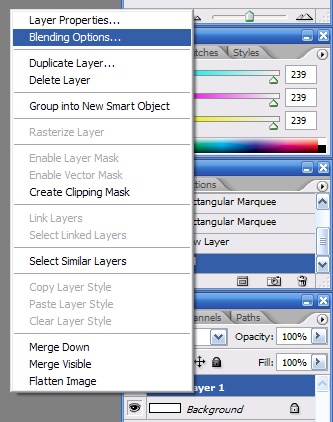
Right Click on the layer in the layers palette and select blending options.
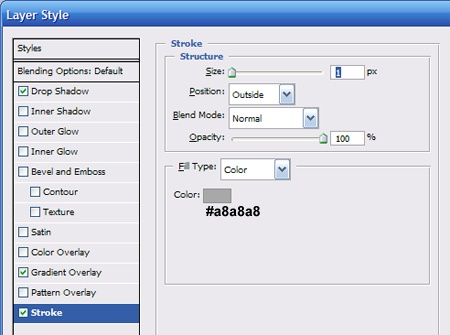
Now apply the following bending options.
Stroke 1px #a8a8a8:
Gradient Overlay:
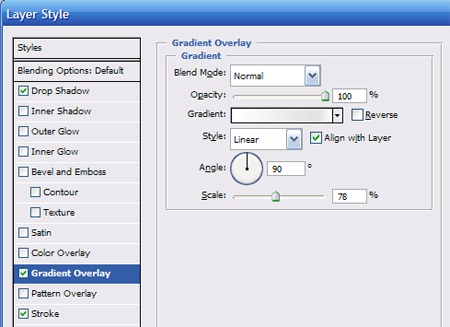
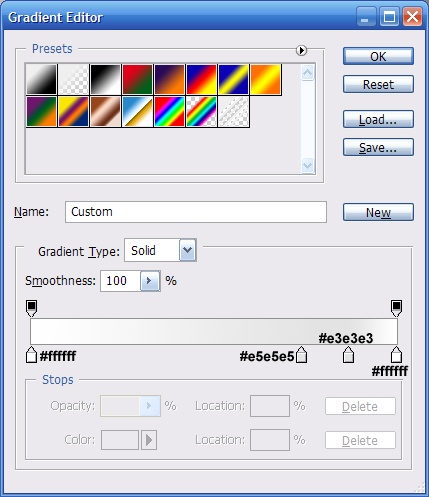
Here are the gradient settings (double click on the gradient to open this window).
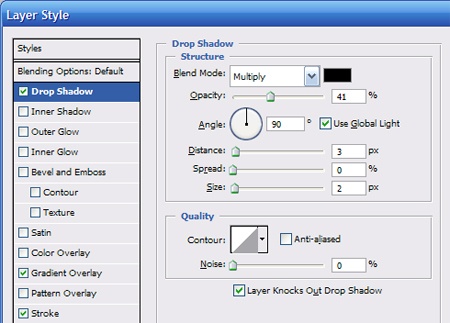
Drop Shadow:
Apply the changes and your image should look like this.

Now create a new layer. Using the line tool with #b6b6b6 as your foreground color, draw a line like the one below.

Now select the Eraser tool. Use a 9px brush with hardness of 54 and flow of 50%.
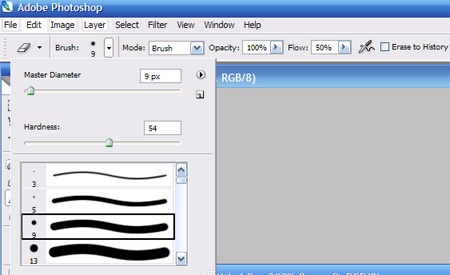
Use the tool to fade the top and bottom of the line (you may want to zoom in to do this).
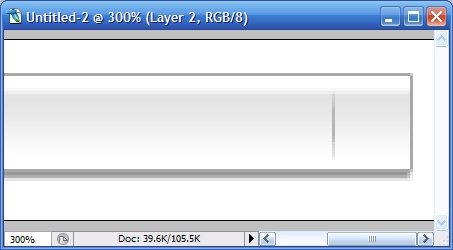
Your image should look like this at actual size.

Create a new layer. Use the custom shape tool and select arrow 6 (a preinstalled shape in Adobe Photoshop CS2). If you are using another version of Photoshop, you may have to choose another arrow.
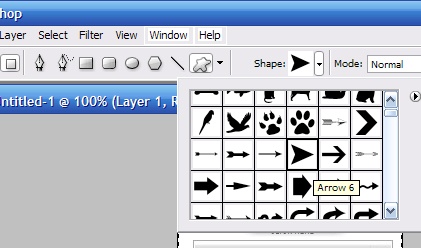
Draw an arrow on the new layer using the same color as the line (#b6b6b6)

Now to finish off the heard, we will ad some text. Use the Text tool with Arial Bold 14pt Crisp. Add your text. This is what the header should look like when you are done.

If you enjoyed this tutorial then check out our other Photoshop Tutorials.